Scrap-Making
Showing posts with label DIY. Show all posts

January 2, 2012

EAD Blog Hop

Hello bloggy friends and Happy New Year! Today is a special day for me...it's my birthday! Yay! Happy Birthday to me! :) hehe...I can't believe another year has flown by. This year I plan on enjoying all the little things, stress less and be happy. 

So lets get this new year started with an EAD Designs blog hop. You can start HERE of if you came from Jenn's blog you're in the right spot. Here's my 1st project of 2012...I altered a mini mailbox for Valentine's day. I think I'll stick a few pieces of candy in it for Natalie..she'll love it! :)


I used the Retro Spring rub-ons for the love birds and hearts...and hot glued some twine from Really Reasonable Ribbon.

I hope you like it!

Ok, time to hop to 

December 19, 2011

EAD Blog Hop

Hi bloggy friends! It's time for an EAD Designs blog hop..I hope you can join in-there is always something being given away. You can start HERE or if you're coming from Jenn's blog you're in the right spot!

Today I have another project using the Quadrefoil pattern. I looooove this pattern almost as much I'm loving the Chrevron pattern!
I decided to spice up my utencil holder that's in my kitchen..it's an easy redo and took about 5 minutes altogther!

Before:


After:

Me likey! :)
I ordered my pattern in slate..but there's tons of colors to choose from, you can check it out here.

Alrighty time to hop along to the next stop...

Have a great day!

December 12, 2011

EAD Blog Hop-Christmas Subway Art

Hi everyone! Welcome to the EAD Designs blog hop. If you are joining us please start HERE so you don't miss anything, or if you came from Jenn's blog you're in the right spot.

Wow I cannot believe how close we are getting to Christmas already! But I am still bringing out the homemade decorations..because besides presents-decorating for the season is the next best thing! lol :) So here's a fun DIY project I made using EAD's Christmas Subway Art. I LOVE the way this came out! 
We went to Lowes to pick out our Christmas tree (we always get them there..great price!)..anywho while we were there I picked up some wood I could use for my subway art.It was only a couple of bucks and I got it cut in half so I have leftover for another project! ;)

I just painted the wood red with some glossy craft paint, waited for it to dry and added the vinyl. So easy! Hope you like it!

Ok, now time for the next stop

Have a great day!

December 5, 2011

EAD Hop- Marshmallow World Canvas

Hi there! Today is the start of the EAD Designs weekly hop, to join in the fun (and always prizes) please start HERE, or if you came from Jenn's blog you're in the right spot.

I have been on a DIY kick lately, so that is what I want to share today. I went into the Design Center in the EAD shop and made my own design with this fun Christmas-time quote.
When you use the Design Center you can customize the size, color and font of your quotes .
I have to admit I get a lot of inspiration from Pinterest and I saw this fun project and just loved the quote.
I kept mine pretty simple by just rubbing the vinyl straight onto a 12x12 canvas, and then inked the edges a bit.
For my quote I used brown vinyl and I also used a couple of snowflake rub-ons in brown aswell. :)
I hope you like it!

Ok, now time to keep hopping along to you r next stop...
Miss


Happy Holidays! 


November 30, 2011

Christmas Canvas

Hi there! Sorry it's been a little quite around here. The holidays season is officially kicking my butt! lol..yesterday was Natalie's 2nd birthday and I'm planning her party for this weekend.

((Here's the birthday girl..she loves ketchup! lol))

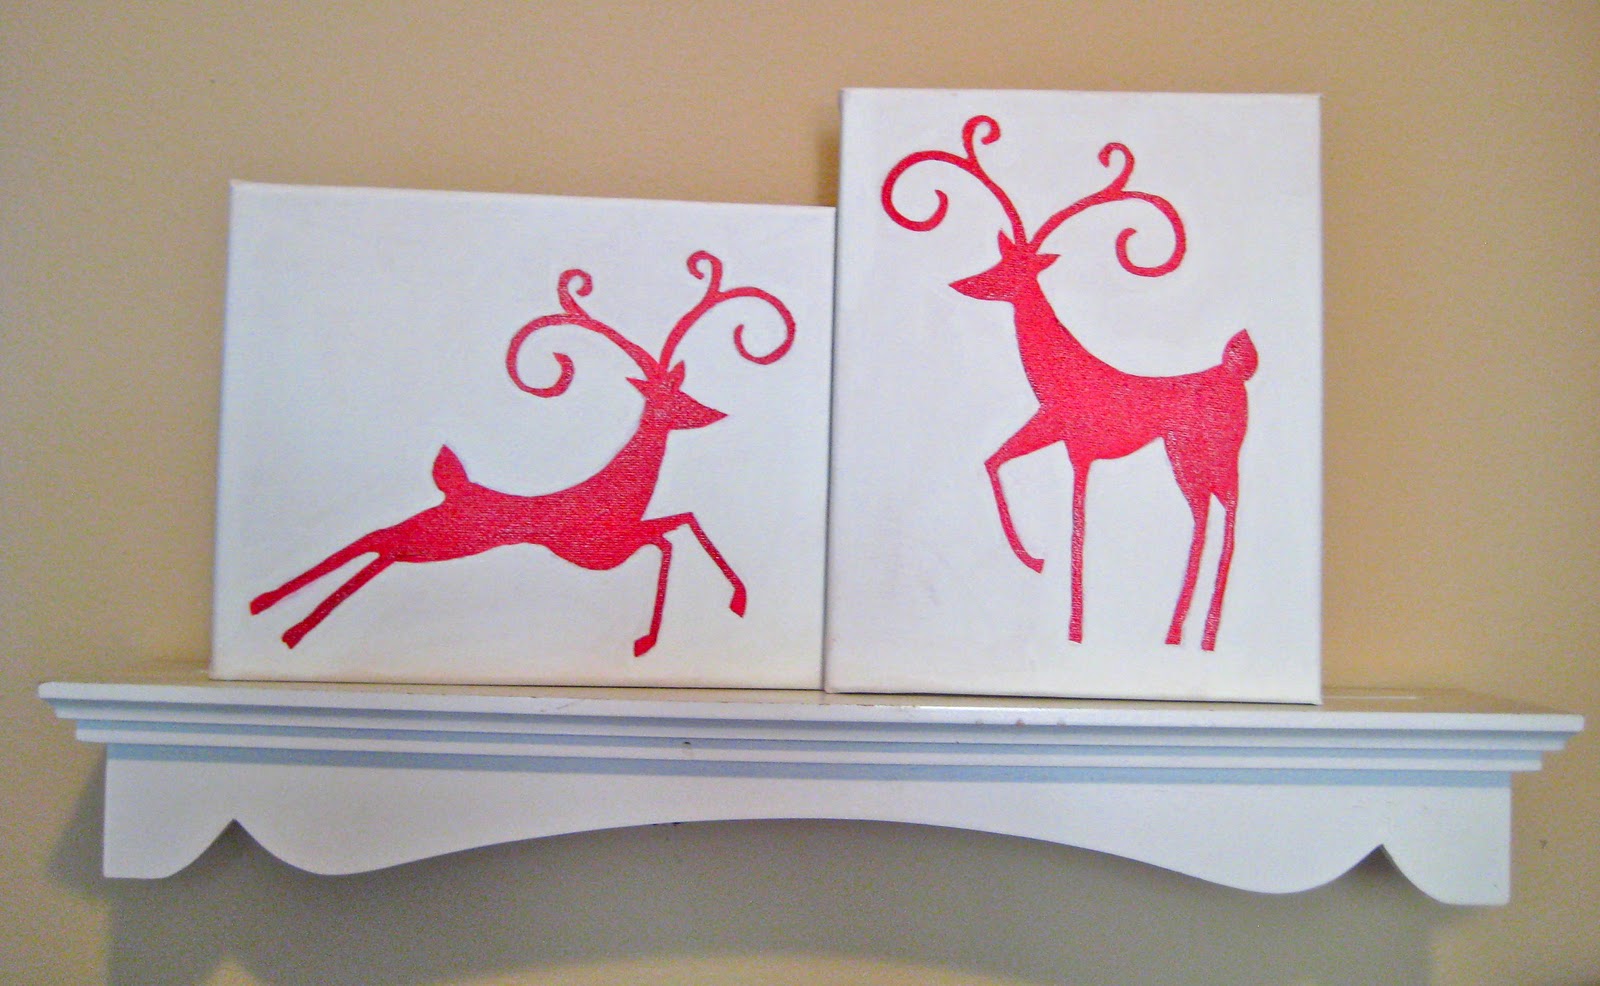
....Thanksgiving was great..busy, but fun. And my Christmas shopping hasn't even started! yikes! So with all this business I feel like my craft room is just collecting dust right now. Hopefully after the new year I'll get some mojo back..but in the mean time I have been doing some Christmas decorating around the house. I made some easy canvas "paintings" using some EAD Designs vinyl.


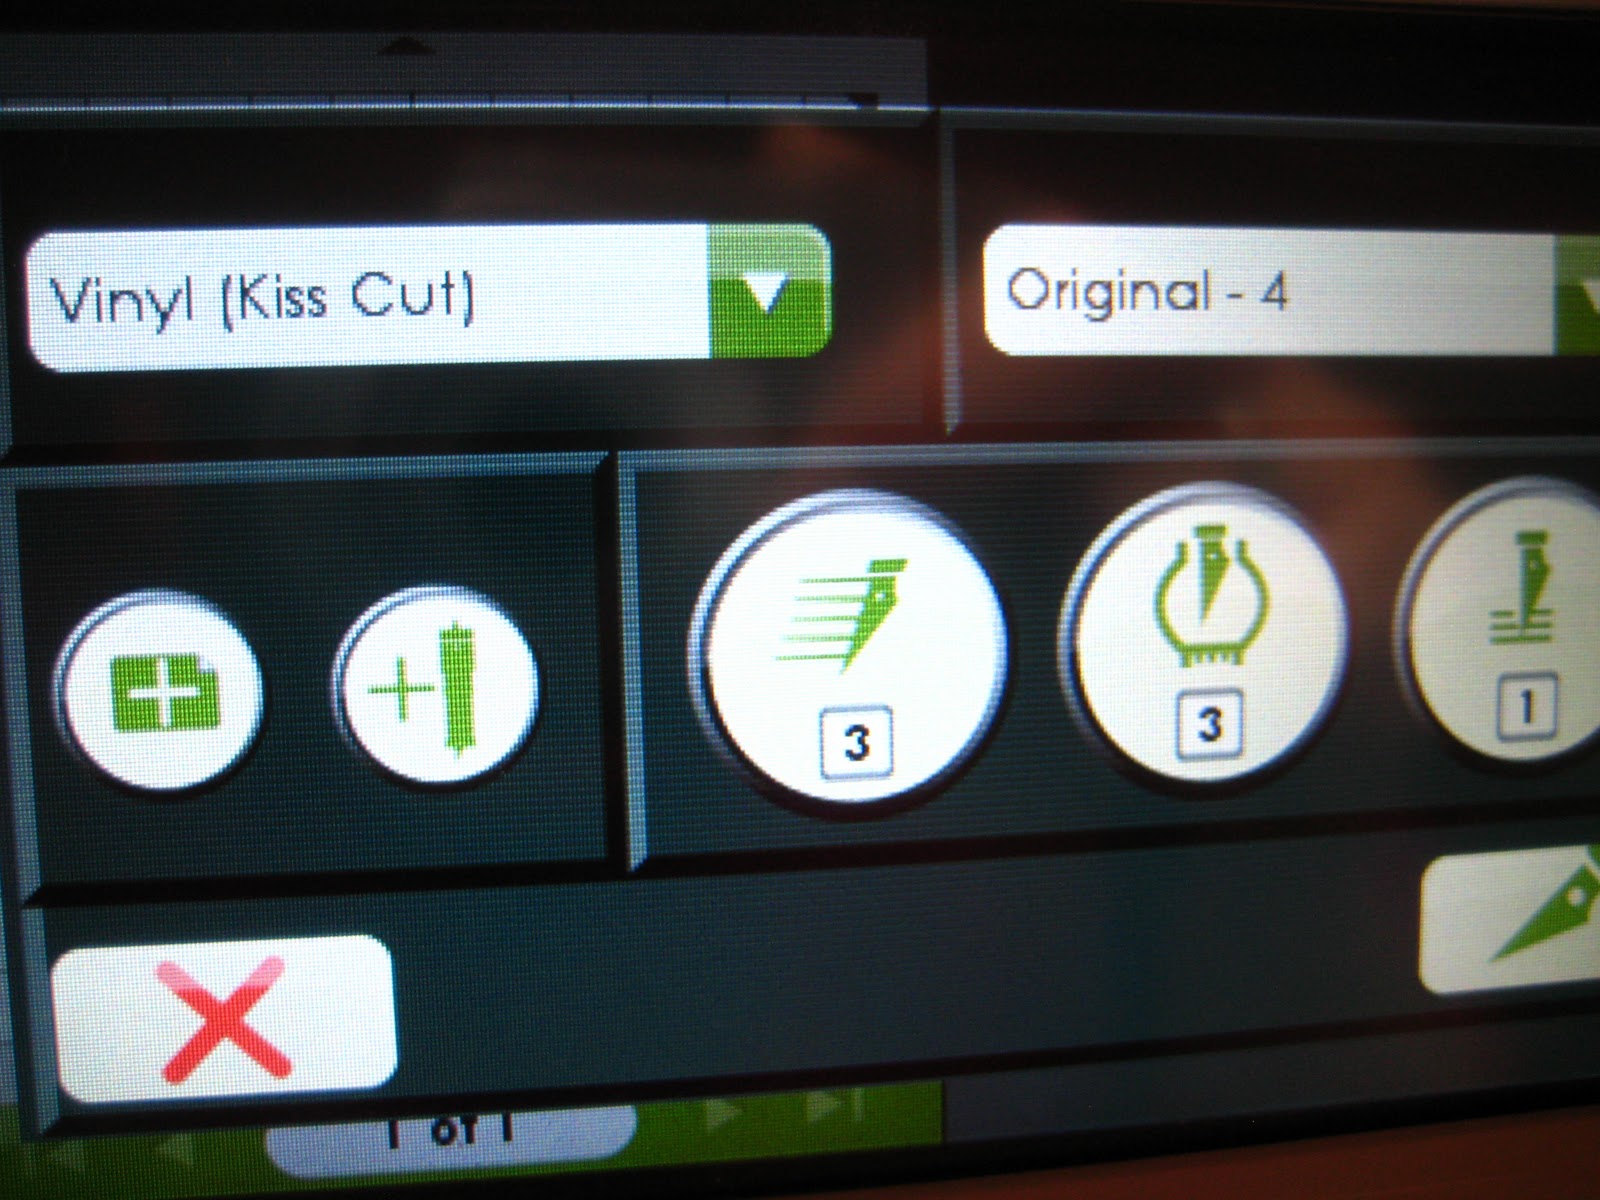
This was my first attempt trying something like this....what I did was first cut some vinyl on my Cricut using the KISS settings, then applied the vinyl to the canvas (making sure to remove the negative pieces) and then painted the deers. let them dry and slowly peel off vinyl.


 Something went wrong inbetween painting the deers and peeling off the vinyl...if you look close you can see the paint kinda bleed through....so after peeling off all  the vinyl I had to go back and touch up all the funky spots (being very careful!)...in the end..I think they came out cute and super afforadable! 
Hope you like 'em! :)


I'm also linking here:
Todays Creative Blog


November 28, 2011

EAD Hop- DIY Christmas Plates

Hi everyone! I hope you had a wonderful Thanksgiving weekend! We had a busy time between my inlaws and my family, but it was great to see everyone!
Well let's get the week started with an EAD Designs blog hop, please start HERE or if you came from   Jenn's blog you're in the right spot!.

Today I'm sharing another fun DIY project for Christmas. I've been wanting to cutomize my own plates for the holidays and when I saw these pretty white plates at the Dollar Tree I had to snag them right away. 

Supplies:

Rub on vinyl and slowly peel off transfer tape.

Ta-da!

I also made this one too beacuse I love the sentiment on it! :)
I hope you like them! I love when Christmas crafts are this easy peasy! :)
I used the Winter Wonderland Block and the Wisemen 1-both in slate (remember you can order vinyl in any color!).
Ok, time to keep hoping along to the next stop...


Have a great day!

November 23, 2011

Christmas Wreath

Hi there! Today I'm the host over on the Really Reasonable Ribbon blog, I'm sharing a fun wreath I FINALLY made..I've been hoarding this stryofoam wreath for the longest time! lol..hope you likey! :)
*********************

Hello crafty friends! It's Joanna B. here. Today I'm sharing a fun DIY Christmas wreath..lately I've been on Pinterest a LOT..if you don't know what Pinterest is, it's basically a place to pin and catergorize anything you want and each pin takes you straight to that subject. So I've been pinning wreaths I can make for Christmas and have been getting so many awesome ideas I finally had to go get some supplies and make one for my home.
I wanted to have a banner going across it, I used my Cricut to cut the banner letters and hot glued them to some  white ric-rac ribbon and added some red grosgrain ribbon for bows.


I wrapped the entire wreath with grey yarn and made some fun yarn pom-poms.

The nice thing about making these is that they are totally customizable and fun to make! You can make them any color you want!

Thanks for stopping by, have a great Thanksgiving Day tomorrow! :)

November 21, 2011

EAD Blog Hop- Welcome Trey Tutorial

Hi everyone! Welcome to the EAD Designs weekly hop!
Please start HERE, or if you're coming from Jenn's blog then you're in the right spot!

Today I'm sharing a fun DIY project that came out so cute!
Along with the new Chevron Pattern, I am also loving the new Quatrefoil Pattern. The desisgn is simple but so pretty! I had this unfinished wooden trey I got a the craft store awhile back and thought it needed some spicing up! :)

 Supplies:

Step 1. Paint

Step 2. Apply Quatrefoil Pattern

Step 3. Slowly peel off transfer tape

Step 4. Apply the Mini Welcome vinyl to the center.

Step 5. Step back and admire your hard work! :)
I hope you like it! It looks so nice in my entry-way!

Ok, time to keep hoping along for more EAD inspiration!
Your next stop is to:

Have a great day! 


Related Posts Plugin for WordPress, Blogger...